This is an early WIP version of the FlowCore SDK documentation for demonstration purposes.
Setting Up a New Project
To set up a new project from scratch, begin with an empty Unity URP Project.
Create a Unity Project
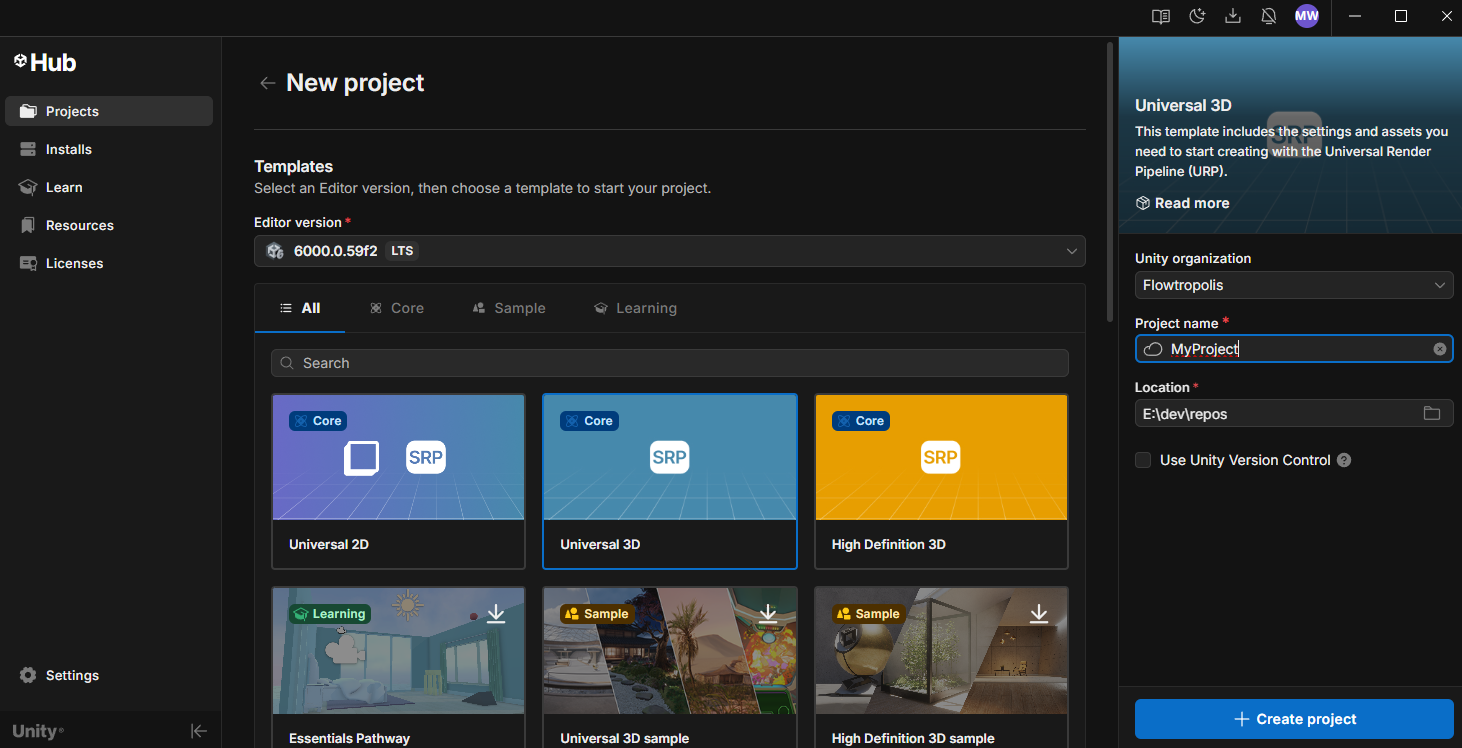
You can use the Unity Hub to create a URP project.
- Pick the Universal 3D project template to create an empty URP Project.
You can learn more about URP, the Universal Render Pipelinen in the Unity Documentation.
Add a Scoped Repository
In order to access the Flowtropolis FlowCore SDK for Unity installation package, you need to add a scoped registry to the Unity Package Manager.
Open the Package Manager, select Project Settings and add a scoped registry with the following parameters:
name: Flowtropolis
url: https://npm.flowtropolis.com
Scopes(S): com.flowtropolis.unity
For a full guide, see this section in the Unity Docs.

Using the Installer
Once the scoped registry has been configured, a new package called Flowtropolis® FlowCore Installer should be available to install. Add it to the project.
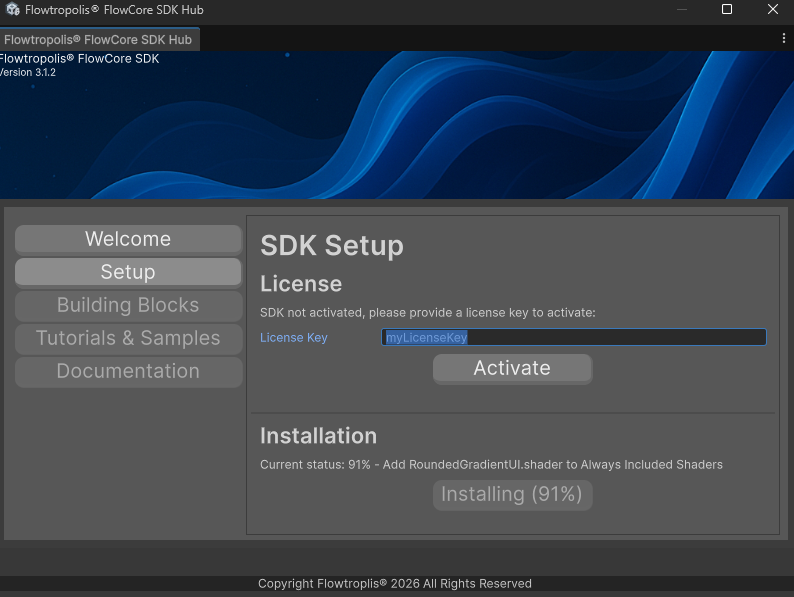
When the package has been installed, open the SDK Hub via the menu item Flowtropolis/SDK Hub. This editor window will guide you through the installation steps. Add your license key in the Setup section and start the installer.
The installation process might take up to 20 minutes and you may need to re-focus Unity during the installation proicess. Should the installation be terminated for whatever reason, it will resume once the SDK Hub is re-opened.
Final Steps
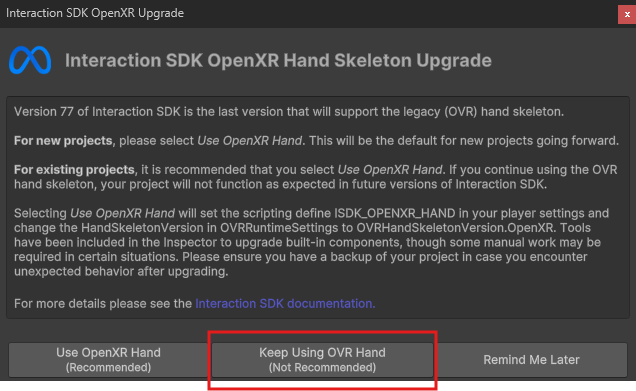
When the installation has been completed, you may need to restart Unity. Afterwards you will be presented with two dialogs.
The first dialog will ask what Meta hand rig to use, pick the Keep Using OVR Hand option.
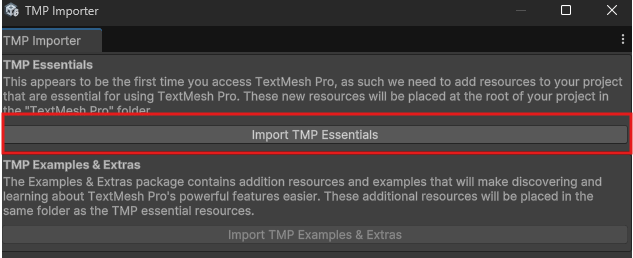
You will also be asked to import the TextMesh Pro essentials. Select the Import TMP Essentials option.
You may now open and run the sample scene located at Assets/Flowtropolis/Scenes/SampleScene.unity.